
Lets catch you up. In my last post I talked about smoothing out the drywall texture by applying a skim coat. If you are interested check here. For my board and batten I used 1X4 vertical pieces and a 1X6 topper. I also removed the old baseboards and replaced them with a 1X6. This gives it a nice chuncky look. I also used a piece of brick moulding on the very top to create a nice little ledge. I don't seem to have any photos of it so you will have to see it in the reveal pictures.
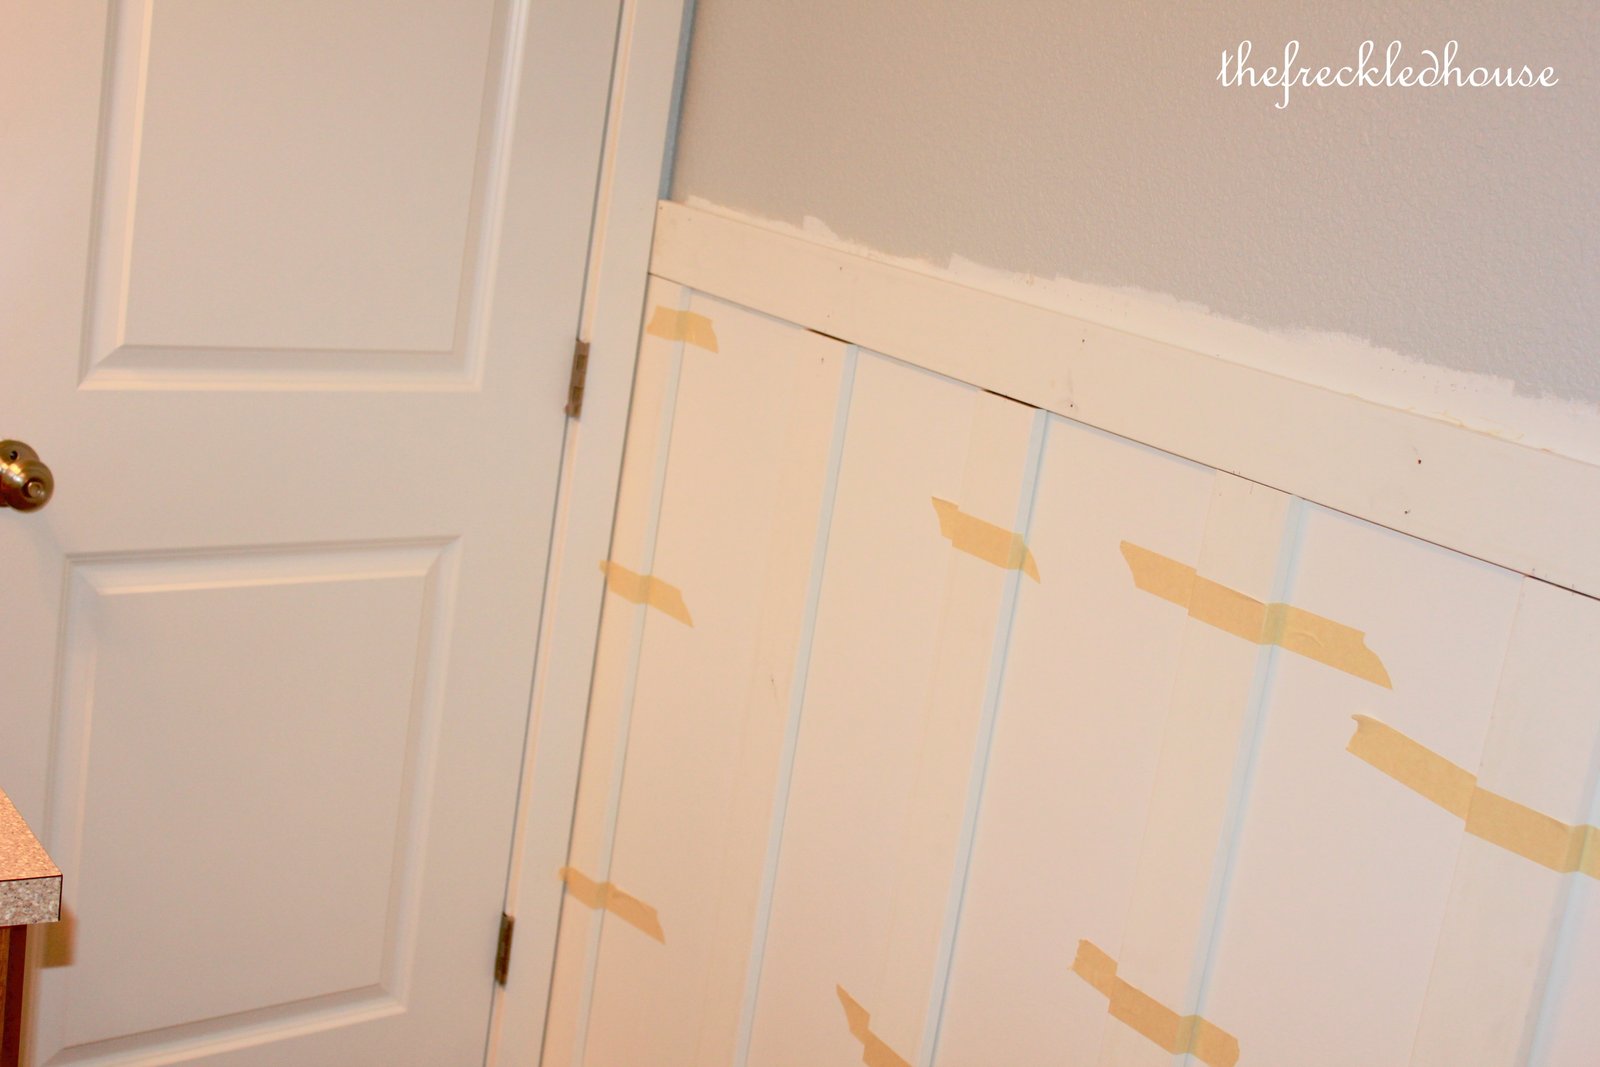
I tried to follow the studs when attaching the vertical boards, but sometimes I wasn't able to. In those spots I used my good old friend, construction adhesive.

This stuff is great. I can't believe how strong the initial tack is on this stuff. Warning! You better move fast with this adhesive, because it sets fast. After 15 minutes you won't be able to move the board without some demolition style force.
When I started this project I assumed that the walls in the bathroom were straight. I mean, it's a new house so the walls will be straight right? Wrong! There was a major bow near the bathtub. In order to get the boards to sit flush with the wall we needed to support them while the adhesive set. Enter the towel bar. This was my husband's genius...I give him full credit. We removed every towel bar in our house (3) and used them to brace the boards to the bowed wall. They worked great.

I will show you the final reveal tomorrow. I think you will like it...I sure do.
Jo
Jo

No comments:
Post a Comment